 EN
How To Handle Installing Hot Water Recirculating Pump Systems
Installing a hot water recirculating pump can dramatically shorten the annoying wait time for hot water at distant fixtures, but the job involves much more than simply bolting a pump onto an existing pipe. From a professional service engineer’s perspective, post-installation issues usually stem from flawed system layouts, reversed water flow, missing isolation points, or neglected electrical connections. A thoughtful, deliberate planning process safeguards your water heater, protects your home's piping network, and ensures long-term reliability for everyone in the building.
This practical guide breaks down the essential steps for successfully installing hot water recirculating pump systems in residential or light commercial settings. It serves as a comprehensive planning and commissioning guide to complement your equipment manual and local building codes. Whenever your project involves complex gas appliances, specialized water heaters, concealed piping, or local code ambiguities, always consult a licensed plumber or certified electrician.
Start by Identifying the Proper Recirculation Layout
Before turning a single wrench on a recirculating pump system, you must determine how the water will efficiently return to the water heater. A dedicated-return system features a separate return pipe running from the furthest point of the hot-water line all the way back to the heater. This is typically the cleanest and most efficient choice when a dedicated return line is already installed or can be easily added during new construction.
Alternatively, a retrofit crossover system usually places the pump near the water heater while utilizing a thermostatic crossover valve close to a distant fixture. When the water sitting in the hot-water line cools down, the valve permits a tiny, controlled transfer into the cold-water line, enabling the pump to push fresh hot water through the loop. While this prevents the need to open up walls, it must match your specific plumbing layout and user expectations. Temporary, mildly warm water at that specific cold fixture can be entirely normal during cycling.
Never choose a layout purely because it appears easier on paper. Map out your furthest fixtures, check existing check valves, and confirm your approved pump orientation. Installing hot water recirculating pump systems blindly can trigger loud pipe noise, unwanted thermal circulation, or a pump running against a completely closed path.
Prepare the Site and Isolate the System Safely
Always read the manufacturer installation manual for your specific pump, digital timer, temperature sensor, and valve kit before touching any piping. Double-check local voltages, plug or hardwire specifications, maximum water temperatures, allowable mounting angles, and necessary service clearances. Gather all required pipe fittings, isolation valves, approved thread sealants, a drainage hose, and reliable electrical testing tools.
| Step | Safety Action | Key Verification |
| 1. Power Cut | Turn off electrical power to the heater and pump circuit | Verify with a tester, do not trust switch labels |
| 2. Pressure Relief | Close water supply and open a hot-water tap | Let system cool completely before loosening joints |
| 3. Area Protection | Shield surrounding floors and electronics from drainage | Prepare for residual hot water and pipe sediment |
| 4. Service Access | Ensure pump location remains fully accessible | Check clearance for future inspections and leaks |
For closed domestic water arrangements, thermal expansion and backflow protection require careful attention. Regulations vary significantly by region and system design. For instance, some regional energy codes mandate specific check valves on cold-water supplies and outline expansion tank rules for recirculation loops. Treat these local codes as mandatory legal boundaries rather than generic diagrams.
Install the Pump in the Correct Direction
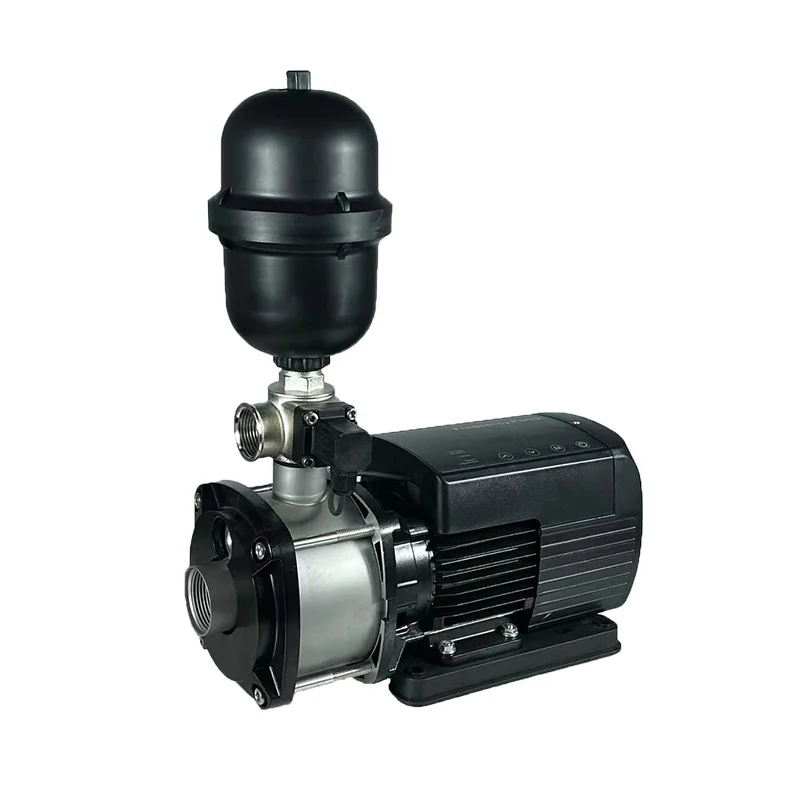
When installing hot water recirculating pump assemblies, always treat the flow arrow stamped on the pump body as your absolute authority. In dedicated-return setups, the pump is typically mounted on the return line close to the water heater so it can pull cooled water smoothly back into the tank. Always obey the manufacturer’s orientation guidelines; many wet-rotor circulators require a strictly horizontal motor shaft to protect internal bearings and ensure proper air venting.
| Installation Component | Best Practice | Common Pitfall to Avoid |
| Flow Arrow | Align strictly with designed water return direction | Reversing flow causes severe system inefficiency |
| Isolation Valves | Install unions and valves for easy maintenance | Forcing technicians to drain the whole system |
| Pipe Support | Support adjacent piping independently | Letting pipe weight strain the pump body |
| Check Valves | Position precisely where specified in manual | Misplacement leads to reverse circulation loops |
Use unions and isolation valves whenever the approved design permits them. They make future servicing hassle-free, allowing technicians to isolate the pump rather than draining the entire household plumbing system. Support adjacent piping so its physical weight never strains the pump body, and never force misaligned pipes into place, as mechanical stress causes slow leaks over time.
Handle Electrical Connections and Controls Carefully
Managing hot water recirculating pump controls is where a great plumbing job can quickly become unsafe. Stick strictly to the electrical connection methods authorized by the manufacturer. Cord-and-plug pumps require a properly grounded, accessible electrical receptacle, whereas hardwired models demand a licensed electrician and local permit approval. Keep all power cords safely away from hot pipe surfaces, sharp metal edges, and potential water drips.
Select system controls that match the actual usage patterns of the building. A programmable timer limits operation strictly to high-demand morning and evening hours. Temperature-based controls automatically stop circulation once the piping loop reaches its ideal set point. Continuous operation is rarely ideal because it increases standby heat loss from uninsulated pipes and accelerates component wear.
Commission the System Instead of Assuming It Works
After assembling your hot water recirculating pump components, slowly reopen isolation valves, restore household water pressure, and thoroughly inspect every single new joint before plugging in or turning on the electrical power. Purge all trapped air according to equipment instructions, as air bubbles inside a circulator cause annoying humming noises, poor flow, and premature bearing wear.
-
Confirm the pump directional arrow matches your intended return path.
-
Ensure all necessary operational isolation valves are fully open.
-
Run the control through a complete test cycle to listen for abnormal vibrations or cavitation.
-
Test a distant hot-water fixture to ensure wait times drop without making the nearby cold water uncomfortably warm.
-
Re-check all fittings for leaks after the piping system reaches normal operating temperature and pressure.
Record the pump model number, customized control settings, installation date, and valve locations in a handover note. This small step helps future service technicians and gives building occupants a clear reference if operational habits change.
Partnering with an experienced water pump manufacturer like Flyaway ensures that distributors and contractors receive top-tier engineering support, robust supply chain reliability, and high-performance pumps tailored to diverse global plumbing specifications. Whether you are sourcing components for residential upgrades or large-scale commercial projects, leveraging expert manufacturing capabilities turns a routine installation into a seamless, long-lasting success story.